What to Expect During a Home Remodel in Des Moines: A Step-by-Step Guide
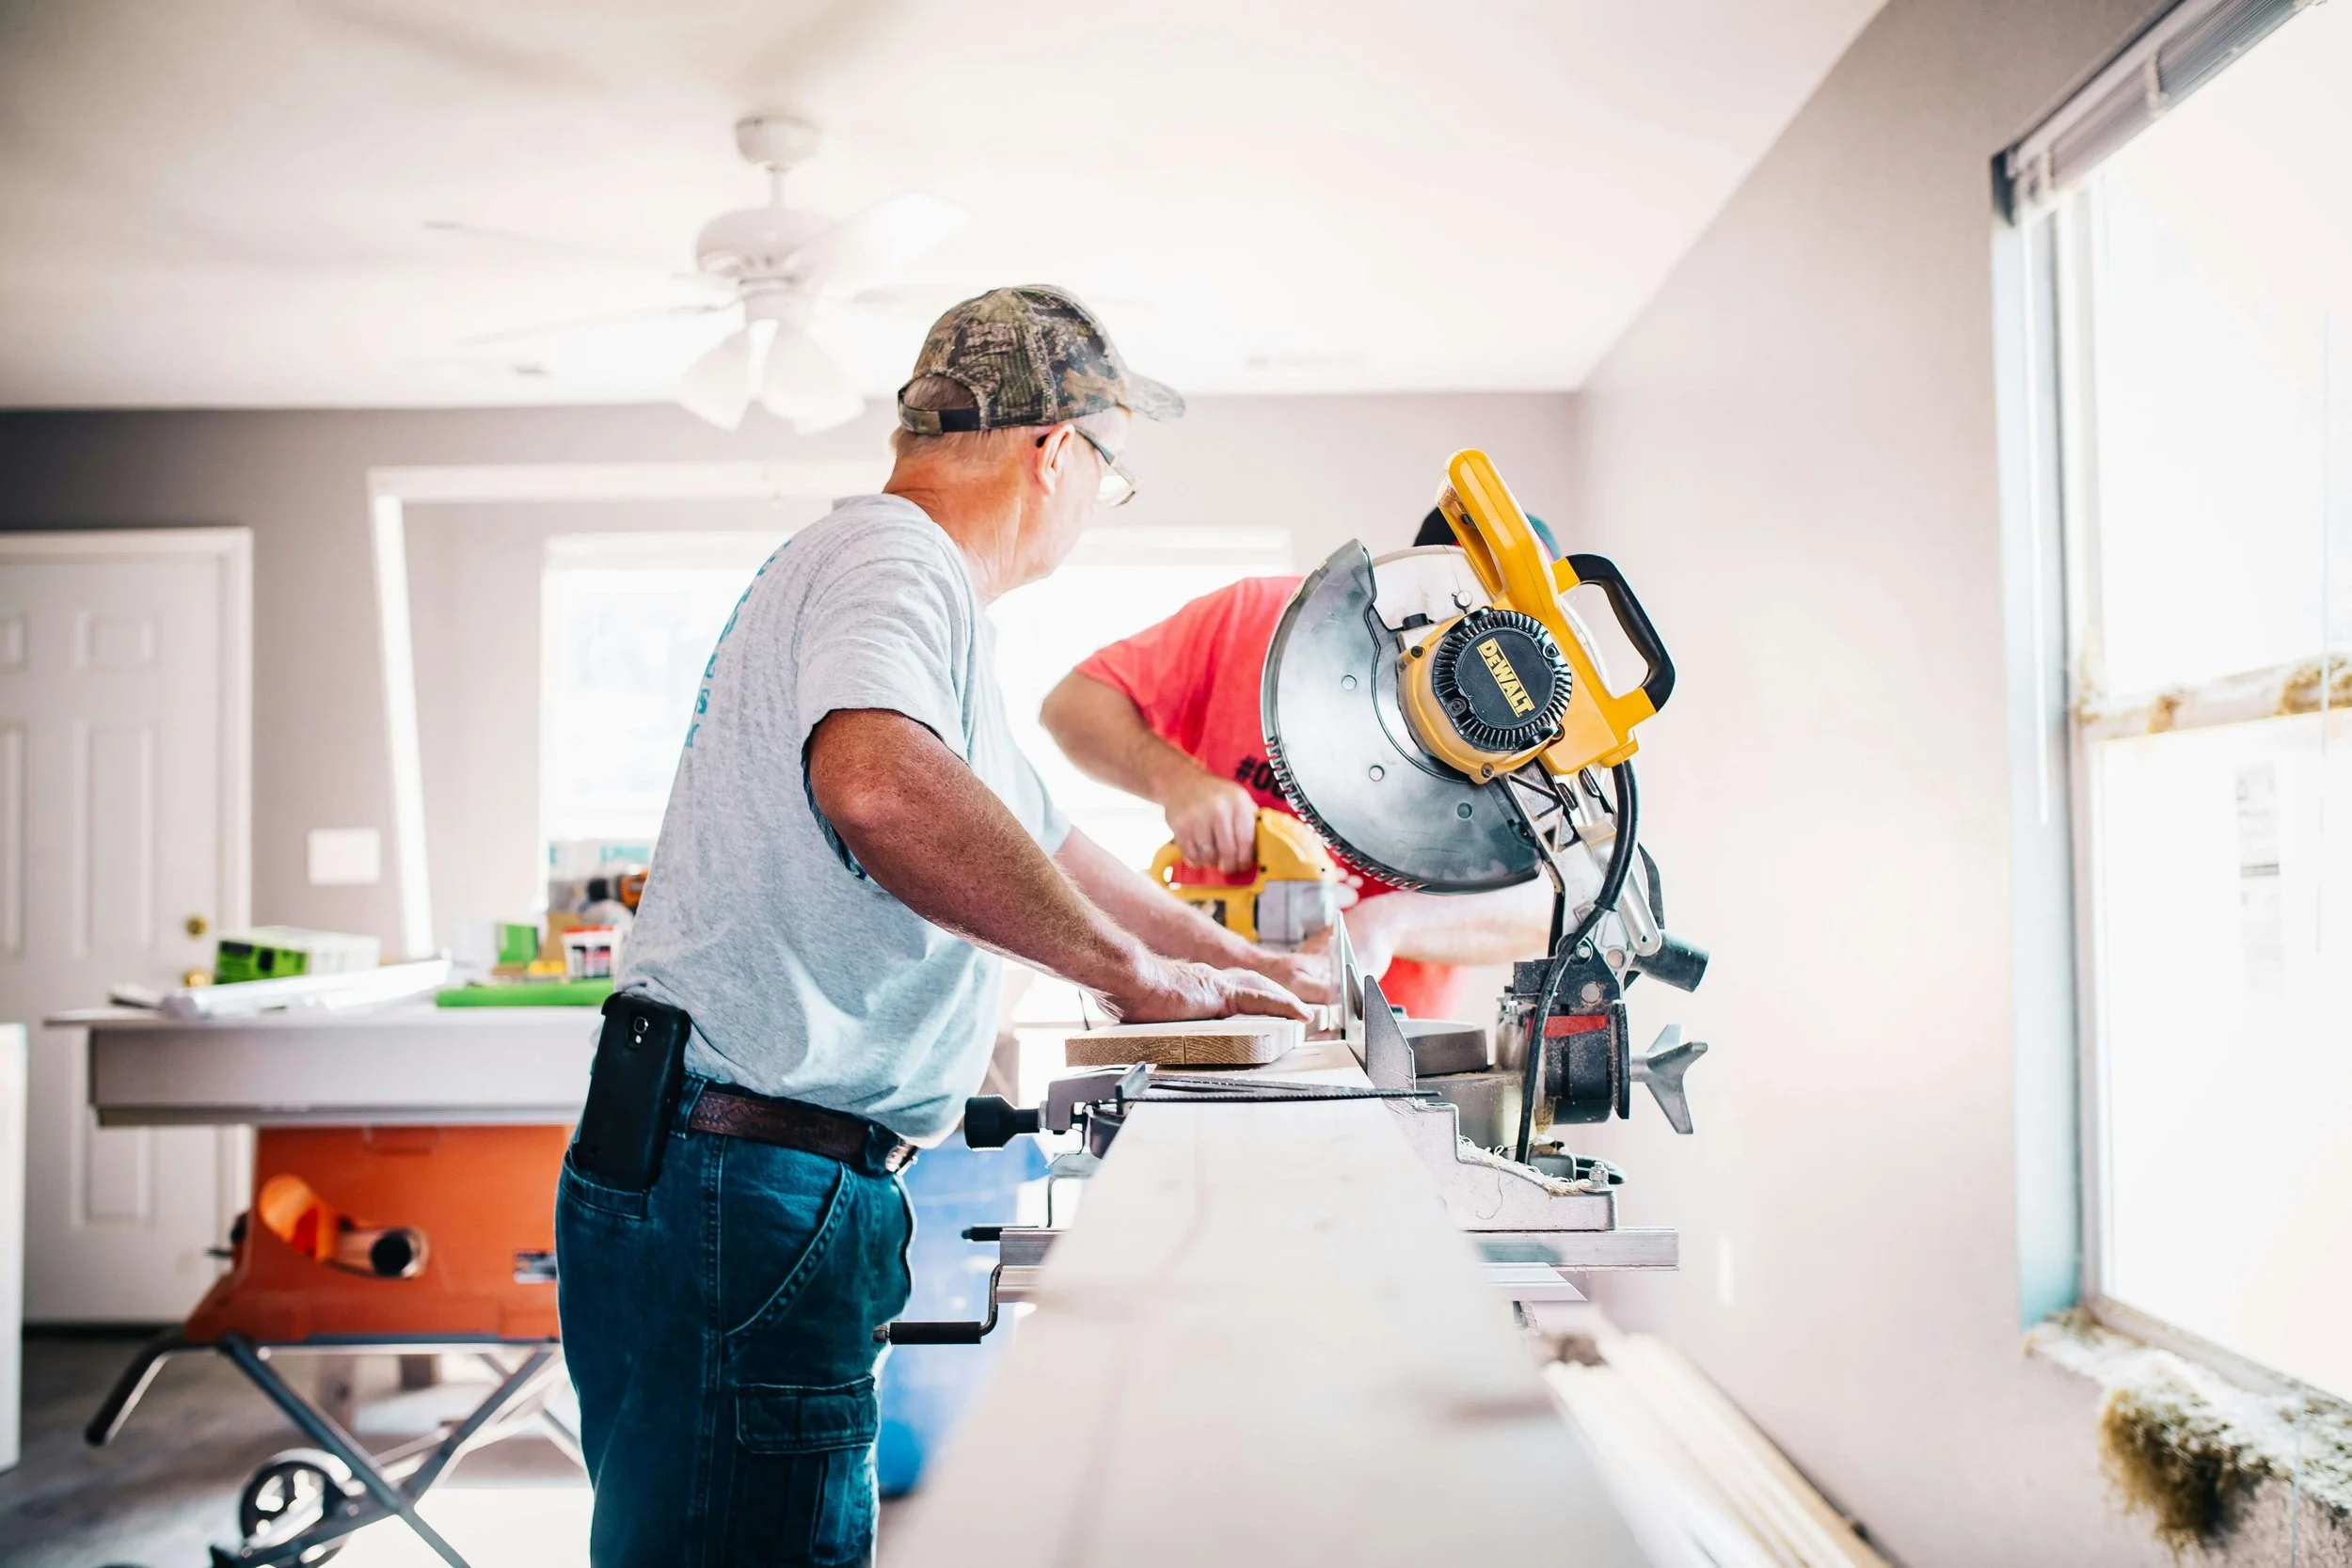
Home remodeling shows have a way of making the middle of a project disappear.
One minute the old kitchen is being demolished. A few scenes later, the cabinets are installed and everyone is admiring the new countertops.
Real remodeling has a few more steps.
If you are planning a home remodel in Des Moines or Urbandale, knowing what happens between the first conversation and the final walkthrough can make the entire process feel much less mysterious.
Every project is different, but most successful remodels move through the same basic stages.
Step 1: Start With the Problems You Want to Solve
The first conversation should not be about tile colors or cabinet hardware.
It should be about your home.
What is not working now?
Maybe the kitchen feels closed off. The bathroom needs a better shower. The basement is unfinished space your family could actually use. Or several areas of the house need to work together differently.
The clearer you can be about the problem, the easier it becomes to design the right solution.
You do not need architectural drawings or a finished Pinterest board before talking with a remodeling contractor.
You need a good understanding of what you want life in the house to be like when the project is finished.
Step 2: Evaluate the Existing Space
Next comes a closer look at the home itself.
A contractor may need to evaluate dimensions, existing layouts, access, plumbing, electrical systems, structural conditions, and other details that could affect the project.
This is especially important when a remodel involves moving walls, changing plumbing locations, expanding a room, or working in an older home.
What looks simple from the outside can sometimes involve several systems working together behind the walls.
That is one reason an in-person evaluation is more useful than trying to estimate an entire project from photos or square footage alone.
Step 3: Define the Scope of Work
Once the goals and existing conditions are understood, the project can become more specific.
This is where “we want a new kitchen” becomes a real scope of work.
Are the cabinets being replaced? Is the layout changing? Are walls moving? Will plumbing or electrical work be needed? Which flooring stays and which flooring changes?
The same process applies to a bathroom remodel, basement finishing project, or other renovation.
Defining the scope early helps everyone understand what is included and prevents major decisions from being left until construction is already underway.
Step 4: Make the Big Design and Material Decisions
This is the stage many homeowners look forward to most.
Cabinets, countertops, flooring, tile, fixtures, lighting, colors, and hardware begin turning the project from an idea into a finished design.
The easiest way to approach selections is usually to make the largest decisions first.
Choose the things that influence other choices before worrying about the smallest details.
For example, the cabinet layout may affect countertops, electrical placement, lighting, and flooring. The size of a shower may affect tile quantities, plumbing fixtures, glass, and storage.
A good sequence keeps one decision from forcing five others to be reconsidered later.
Step 5: Finalize the Schedule and Pre-Construction Details
Before demolition begins, there are practical details to work through.
Depending on the project, those may include permits, material lead times, subcontractor scheduling, site access, and protecting areas of the home that are not being remodeled.
This is also a good time for homeowners to ask very practical questions.
Where will materials be stored? Which parts of the house will be accessible? Will water or electricity need to be shut off temporarily?
If the kitchen is being remodeled, where will you prepare food?
If it is the only bathroom, how will the project be phased?
These questions are not as exciting as choosing finishes, but they can make living through the remodel considerably easier.
Step 6: Demolition Begins
Demolition is usually the first stage where the project suddenly feels very real.
Existing cabinets, fixtures, flooring, drywall, or other materials may be removed depending on the scope.
This stage also provides a clearer look at conditions that were previously hidden.
Sometimes everything is exactly as expected.
Other times, demolition reveals something that needs to be addressed before the new work can continue.
That might include previous repairs, damaged materials, outdated systems, or framing conditions that were not visible before the wall was opened.
A good remodeling process deals with those conditions before covering them back up.
Step 7: The Work You Will Eventually Never See
Some of the most important work in a remodel happens during the least photogenic part of the project.
Framing, plumbing, electrical, HVAC changes, and other rough-in work happen before the walls are closed.
This stage can feel slow to homeowners because the room may not look dramatically different from day to day.
But it is doing something important: creating the structure and systems that everything else depends on.
A beautiful faucet is only as good as the plumbing behind it.
A new kitchen layout only works if electrical outlets, lighting, ventilation, and appliance connections are planned correctly.
This is one part of the home remodeling process that should never be rushed simply because the exciting finishes are waiting.
Step 8: The Room Starts Looking Like a Room Again
Once the behind-the-walls work is complete, the transformation becomes easier to see.
Drywall goes up. Walls are finished and painted. Flooring, cabinetry, tile, trim, countertops, and fixtures begin appearing.
The exact order depends on the project, but this is typically when homeowners can finally see how the decisions made during planning are coming together.
It is also why making those decisions earlier matters.
The construction phase moves more smoothly when materials and design choices are already settled.
Step 9: Expect a Lot of Small Details Near the End
The final portion of a remodel can be deceptive.
The room may look nearly finished while several small tasks remain.
Hardware needs to be installed. Paint may need touch-ups. Fixtures need final adjustments. Trim, caulk, electrical plates, doors, or other details still need attention.
Individually, these jobs may seem minor.
Together, they are what make a project feel finished rather than almost finished.
This is not the stage to lose patience with the details.
Step 10: Walk Through the Finished Project
The final walkthrough gives the homeowner and contractor an opportunity to review the completed work together.
Ask questions. Learn how new features operate. Discuss care or maintenance where appropriate.
If something needs a final adjustment, identify it.
The goal is not simply to reach the point where construction stops. It is to make sure the finished space works the way it was intended to work.
What Can Homeowners Do to Make the Remodeling Process Easier?
You do not need to manage the construction yourself, but a few things can make the project smoother.
Make important decisions early when possible.
Ask questions when something is unclear.
Be upfront about priorities and budget.
And remember that remodeling is a process, not just a finished photograph.
There will be days when a lot seems to happen and days when the most important progress is hidden behind a wall.
Understanding that rhythm makes the experience much easier to navigate.
Planning a Home Remodel in Des Moines or Urbandale?
A successful remodel starts long before demolition.
The planning, scope, selections, scheduling, and behind-the-scenes construction all contribute to the finished space.
Dunlap Remodeling works with homeowners on kitchen remodeling, bathroom remodeling, basement finishing, deck construction, and other home renovation projects throughout Des Moines, Urbandale, and surrounding Central Iowa communities.
Explore our home remodeling services or request a free estimate to start a conversation about your project.